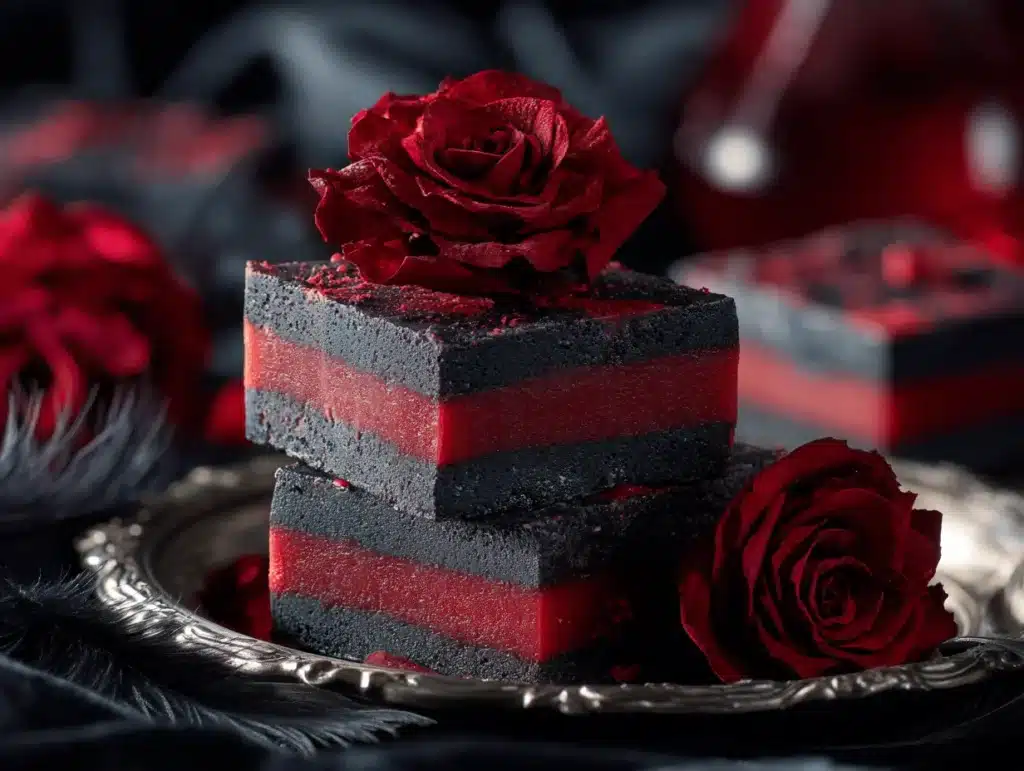
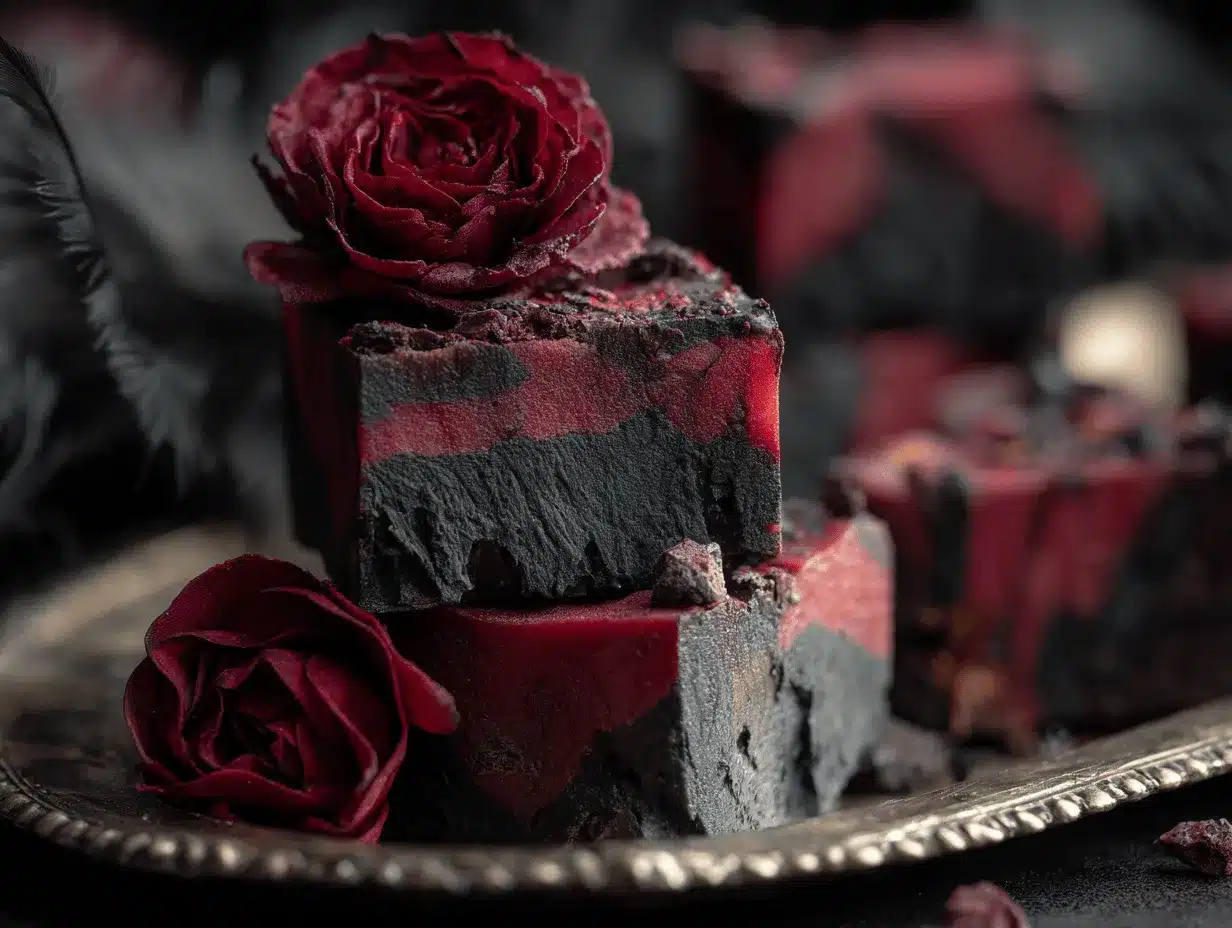
There’s something about Halloween that brings out my inner kid. The other day, the house was filled with the sweet, chocolatey aroma of melting fudge—and honestly, I couldn’t stop sneaking tastes. That’s the magic of Vampire Fudge! It’s got this gooey red “blood” center that oozes out when you slice it, making it the ultimate spooky treat for Halloween. The first time I made this, I was prepping for a neighborhood party, and let me tell you, the kids went absolutely wild for the dramatic reveal.
This recipe isn’t just about the shock factor (though, let’s face it, that’s half the fun). Vampire Fudge is fantastically easy—three ingredients and you’re done. No baking, no complicated steps, just pure, chocolatey goodness with a clever twist. I remember scrambling for last-minute Halloween ideas and stumbling upon this fudge concept—now it’s a yearly tradition in our house. Whether you’re a busy parent, a last-minute planner, or just love Halloween as much as I do, this fudge will be your go-to.
It’s perfect for making memories, impressing guests, and—most importantly—getting everyone in the spooky spirit! If you’ve never made Vampire Fudge before, I promise you’ll love how simple and satisfying it is. After testing this recipe (and eating way too many pieces), I can vouch for its deliciousness and ease. Ready to try the best Vampire Fudge ever?
Why You’ll Love This Vampire Fudge Recipe
I’ve been whipping up Halloween treats for years, so when I say this is my favorite, I mean it! Here’s why Vampire Fudge stands out from the usual candy corn and cupcakes:
- Quick & Easy: It comes together in less than 15 minutes, plus chill time—no oven required.
- Just Three Ingredients: You probably have them already (hello, pantry raid!).
- Perfect for Parties: It’s a guaranteed hit for school events, trick-or-treat afterparties, or family movie nights.
- Kid-Approved: The “bloody” center is a showstopper—kids love the dramatic slice!
- Seriously Delicious: The fudge is rich, creamy, and just sweet enough. The fruity filling adds a tart punch.
What sets this Vampire Fudge apart? It’s not just the fun factor—it’s how simple and foolproof it is. Instead of fiddling with candy thermometers or fancy chocolate, you melt, stir, and pour. The filling is a clever use of fruit jam, which means you can adjust the flavor and color for your own twist. One year, I used raspberry for bright red “blood,” but cherry works great too. And if you want to experiment, the base adapts to all kinds of flavors. This is comfort food with a spooky edge—no stress, just fun!
Honestly, there’s something so satisfying about watching everyone’s reactions when you cut into the fudge. It’s the kind of recipe you’ll make again and again, not just for Halloween but whenever you want a showy, easy dessert. Let’s get into the ingredients!
Ingredients Needed for Vampire Fudge
This recipe is as simple as it gets, but each ingredient plays a key role in making your Vampire Fudge taste amazing and look super cool. Here’s the breakdown:
- Semi-Sweet Chocolate Chips (2 cups / 340g) – The backbone of the fudge. Semi-sweet gives the perfect balance between rich and sweet. You can swap in dark chocolate chips for a slightly more intense flavor, or milk chocolate if you want it extra sweet.
- Sweetened Condensed Milk (1 can / 14 oz / 397g) – This is the magic ingredient that makes the fudge smooth, creamy, and easy to set. I swear by Eagle Brand, but any quality brand works. Don’t substitute with evaporated milk—it’s not sweet or thick enough.
- Red Fruit Jam or Preserves (about 1/2 cup / 120g) – This is your “blood” center! Raspberry, cherry, or strawberry all work perfectly. Look for a thick jam or preserves so it doesn’t run everywhere. I’ve tried seedless raspberry for a smooth look, but chunky cherry jam gives a cool, gory effect. If you want the color super vibrant, add a drop of red food coloring.
That’s it—three ingredients! No butter, no sugar, no fuss. If you’re feeling creative, you can add a splash of vanilla extract or a pinch of salt for depth, but honestly, it’s delicious as is.
Ingredient Tips:
- If you need a dairy-free option, use coconut sweetened condensed milk and dairy-free chocolate chips (like Enjoy Life).
- For nutty fudge, stir in a handful of chopped pecans or walnuts before layering.
- Can’t find red jam? Use apple jelly mixed with red food coloring for a similar effect.
These ingredients are almost always in my pantry, especially around Halloween. It’s the kind of recipe you can whip up even when you forgot to plan ahead!
Equipment Needed
When I say this recipe is easy, I mean you hardly need anything fancy. Here’s what I use every time I make Vampire Fudge:
- Microwave-Safe Bowl – For melting the chocolate and condensed milk. You can use a double boiler if you prefer stovetop.
- Spatula or Wooden Spoon – To stir everything together. Silicone spatulas work best for scraping every last bit.
- 8×8-inch (20x20cm) Baking Pan – The perfect size for thick squares. Line with parchment paper for easy removal.
- Small Spoon – For dropping jam dollops into the fudge.
- Knife – To slice the fudge and reveal the “bloody” center.
I’ve tried making this in a glass dish and metal pan—both work just fine. If you don’t have parchment, use foil with a bit of oil. For cleaning up melted chocolate, soak your bowl in warm water for a few minutes first (trust me, it’ll save you scrubbing).
On a budget? Dollar-store pans and utensils work great. Just don’t skip the parchment or foil—makes life so much easier!
How to Make Vampire Fudge: Step-by-Step Method
- Prep Your Pan: Line your 8×8-inch (20x20cm) pan with parchment paper, leaving edges hanging over for easy fudge removal. If using foil, lightly grease it.
- Melt the Chocolate and Milk: Place 2 cups (340g) semi-sweet chocolate chips and 1 can (14 oz / 397g) sweetened condensed milk in a large microwave-safe bowl. Microwave in 30-second bursts, stirring after each, until smooth and glossy (usually 1.5–2 minutes total). If using a double boiler, stir constantly over gentle heat until melted.
- First Layer: Pour half the melted fudge mixture into your lined pan. Spread evenly with a spatula. The layer should be about 1/2 inch thick.
- Add the “Blood” Centers: Drop spoonfuls of red jam (about 1/2 cup / 120g) in random spots over the fudge base. Don’t go all the way to the edges. Use the back of your spoon to slightly flatten each dollop. If you want extra drama, swirl a little jam into the fudge but keep most in bigger blobs for a gooey center.
- Top Layer: Pour the remaining fudge mixture over the jam blobs. Spread gently to cover all the jam, being careful not to drag the jam too much. Aim for a smooth top.
- Chill: Refrigerate for at least 2 hours, or until set firm. Overnight is even better if you’ve got time—the fudge develops a richer texture.
- Slice and Serve: Use the parchment tabs to lift the fudge out. Slice into squares with a sharp knife. Wipe the blade between cuts for clean lines. When you cut through a jam pocket, it’ll ooze out like blood—so cool!
Troubleshooting Tips:
- If the fudge is too soft, chill longer or pop in the freezer for 30 minutes.
- Jam too runny? Mix with a little cornstarch or use a thicker preserve.
- Chocolate seizing up? Make sure no water gets into your bowl while melting.
Listen for the fudge to thicken as it cools—it’ll pull away from the bowl. The smell should be deep, sweet, and a little fruity. I always sneak a taste of the warm fudge before chilling (chef’s privilege, right?).
Cooking Tips & Techniques
Over the years, I’ve learned a few tricks to make Vampire Fudge foolproof. Here’s what I wish I knew my first time:
- Don’t Overheat the Chocolate: Short bursts in the microwave, stirring each time, keeps it glossy and smooth. If you nuke it too long, it’ll turn grainy—been there, done that!
- Layering Is Key: Make sure your jam centers are thick enough so they don’t completely blend into the fudge. If you want dramatic “blood,” don’t swirl too much.
- Clean Cuts: Use a hot knife (run under hot water, dry off) for slicing. The jam will ooze perfectly and the fudge won’t crumble.
- Work Quickly: Fudge can start setting up fast once it hits the pan. If you’re multitasking, have everything prepped before you melt the chocolate.
- Chill Time: Overnight chilling gives the best texture and makes flavors pop. If you’re in a rush, freezer works—but watch out for condensation when thawing.
- Test Before Serving: I always cut a test square before plating, just to make sure the jam placement is dramatic enough. If not, no worries—it still tastes awesome!
My biggest flop was using runny jelly once—it disappeared into the fudge! Now I stick to thick jam or preserves. Also, avoid using chocolate chips straight from the freezer—they melt unevenly (learned that the hard way). With these tips, you’ll get perfect Vampire Fudge every time.
Variations & Adaptations
One of the best things about Vampire Fudge is how customizable it is. Here are a few ways to switch things up and make it your own:
- Dairy-Free: Use coconut sweetened condensed milk and vegan chocolate chips. The coconut adds a subtle twist that works surprisingly well.
- Flavor Variations: Swap semi-sweet for white chocolate and use blueberry or blackberry jam for a “zombie” version with green or purple ooze. Orange marmalade plus dark chocolate makes a “pumpkin” fudge.
- Nutty Additions: Stir in chopped nuts, mini marshmallows, or even Halloween sprinkles into the top layer before chilling.
- Gluten-Free: All main ingredients are gluten-free, but double-check your jam brand for cross-contamination if needed.
- Different Shapes: Use silicone molds for bite-sized fudge pieces, or cut into rectangles for “vampire coffin” shapes—kids love it!
- Personal Twist: Last year, I tried swirling a bit of peanut butter into the top layer. The kids called it “monster fudge” and it was gone in minutes!
Feel free to mix and match jams, chocolates, and add-ins for endless Halloween fun. If you’re worried about allergens, just check ingredient labels—this fudge is easy to adapt for almost any diet.
Serving & Storage Suggestions
Vampire Fudge is best served chilled so the “blood” stays gooey. I like to plate it on a black tray with fake cobwebs for extra Halloween drama. For a party, arrange the squares in a single layer so everyone can see the oozing centers. Pair with apple cider, hot cocoa, or a spooky punch for a full Halloween spread.
To store, place fudge squares in an airtight container with parchment between layers. They’ll keep in the fridge for up to a week—though, honestly, ours never last that long! If you want to make ahead, freeze the fudge for up to two months. Thaw overnight in the fridge before serving for best texture.
For reheating, just let the fudge sit at room temperature for 10–15 minutes. The jam will soften up and the chocolate will taste extra rich. Over time, the flavors meld and the fudge gets even better. Don’t worry if the jam starts to soak in a bit—it still looks and tastes amazing.
Nutritional Information & Benefits
Each square of Vampire Fudge packs about 150 calories, depending on the size and brand of chocolate/jam used. You’ll get a good dose of calcium from the condensed milk and a little antioxidant kick from the dark chocolate and fruit jam.
This recipe is naturally gluten-free, and you can make it dairy-free as noted above. Be mindful of allergens—dairy and soy are present in most chocolate chips. If you use nut-based add-ins, make sure to warn guests.
While this is definitely a treat (not exactly a health food), I love that it’s portion-controlled and made with real fruit. For me, it’s all about balance—Halloween is the perfect time for a little sweet indulgence!
Conclusion
So, why try Vampire Fudge? Because it’s fun, easy, and totally unforgettable! Whether you’re making it for your own family, a classroom party, or just because you love Halloween, this recipe delivers on taste and drama. You can tweak it to fit your style, your dietary needs, or whatever jam you have on hand.
I love how it brings people together—everyone waits for that first slice to see the “blood” ooze out. It’s a tradition in our house now, and I hope it becomes one in yours too!
If you give this Vampire Fudge recipe a go, let me know—leave a comment below with your twists, share your photos on social, or pass it on to a friend who loves spooky treats. Happy haunting and happy snacking!
FAQs About Vampire Fudge
Can I use a different kind of jam for the “blood” center?
Absolutely! Raspberry, cherry, and strawberry all work. Just pick something thick and bright red for the best effect.
How long does Vampire Fudge last?
Stored in an airtight container in the fridge, it stays fresh for up to a week. Frozen, it’ll keep for two months.
Can I make Vampire Fudge dairy-free?
Yes! Use coconut sweetened condensed milk and dairy-free chocolate chips. The texture and taste are just as good.
Do I need a candy thermometer?
Nope! This recipe is super simple and doesn’t require any special equipment. Just melt, mix, and chill.
Why did my fudge not set properly?
This usually happens if the chocolate wasn’t melted fully or the jam was too runny. Chill longer or use a thicker jam next time.
Pin This Recipe!
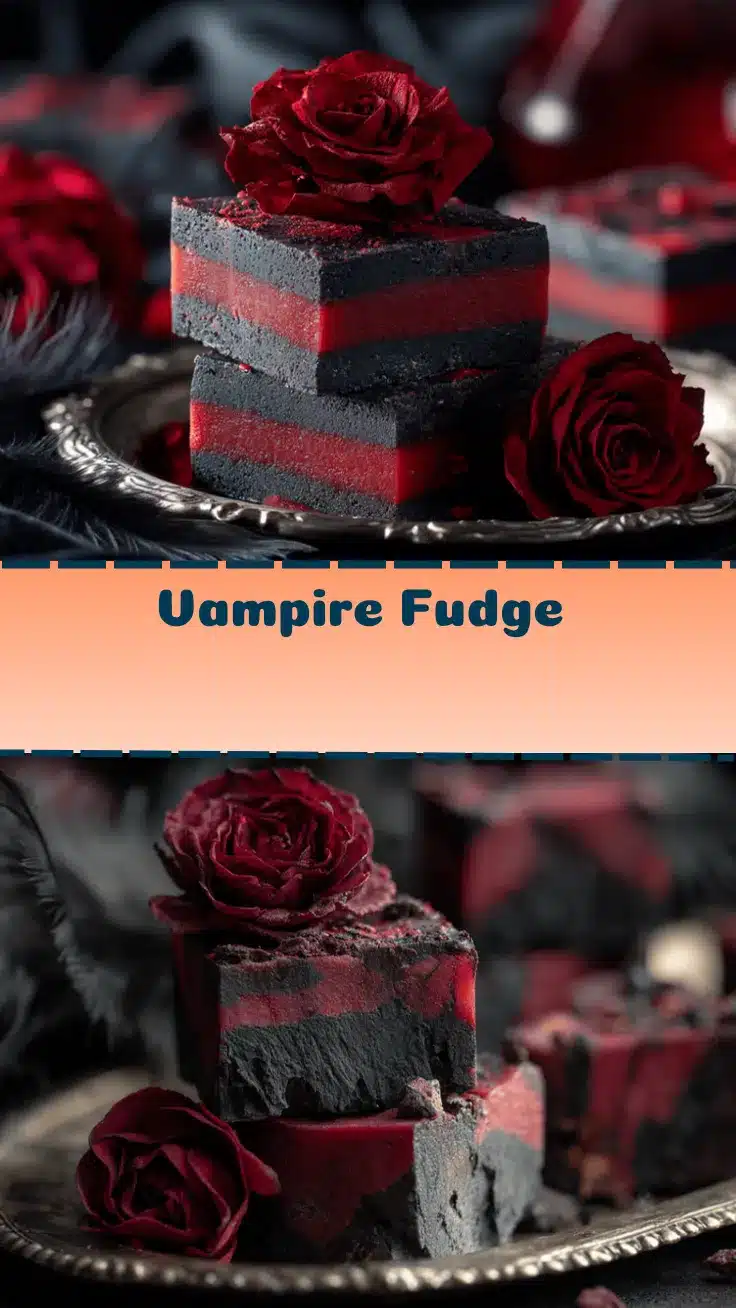

Vampire Fudge Recipe – Easy 3-Ingredient Halloween Treat Kids Love
- Total Time: 2 hours 15 minutes
- Yield: 16 squares 1x
Description
Vampire Fudge is a quick, no-bake Halloween treat featuring rich chocolate fudge with a gooey red ‘blood’ jam center. It’s easy to make, kid-approved, and perfect for parties or spooky celebrations.
Ingredients
- 2 cups semi-sweet chocolate chips (340g)
- 1 can (14 oz) sweetened condensed milk
- 1/2 cup red fruit jam or preserves (raspberry, cherry, or strawberry; thick and seedless preferred)
Instructions
- Line an 8×8-inch baking pan with parchment paper, leaving edges hanging over for easy removal. If using foil, lightly grease it.
- Place chocolate chips and sweetened condensed milk in a large microwave-safe bowl. Microwave in 30-second bursts, stirring after each, until smooth and glossy (about 1.5–2 minutes total). Alternatively, melt using a double boiler over gentle heat.
- Pour half of the melted fudge mixture into the lined pan and spread evenly.
- Drop spoonfuls of red jam in random spots over the fudge base, avoiding the edges. Slightly flatten each dollop with the back of a spoon.
- Pour the remaining fudge mixture over the jam blobs and spread gently to cover all the jam, aiming for a smooth top.
- Refrigerate for at least 2 hours, or until set firm. Overnight chilling is best for texture.
- Lift fudge out using parchment tabs and slice into squares with a sharp knife, wiping the blade between cuts for clean lines.
- Serve chilled for best gooey ‘blood’ effect.
Notes
Use thick jam or preserves for the best ‘bloody’ effect. For dairy-free, substitute coconut sweetened condensed milk and vegan chocolate chips. Chill overnight for optimal texture. Clean cuts are easiest with a hot knife. Store in an airtight container in the fridge for up to a week or freeze for up to two months.
- Prep Time: 10 minutes
- Cook Time: 2 minutes
- Category: Dessert
- Cuisine: American
Nutrition
- Serving Size: 1 square (about 1/16 of pan)
- Calories: 150
- Sugar: 18
- Sodium: 40
- Fat: 6
- Saturated Fat: 4
- Carbohydrates: 22
- Fiber: 1
- Protein: 2
Keywords: Halloween, fudge, vampire, chocolate, kid-friendly, party, easy, no-bake, spooky, jam, treat